Last updated: August 4, 2026
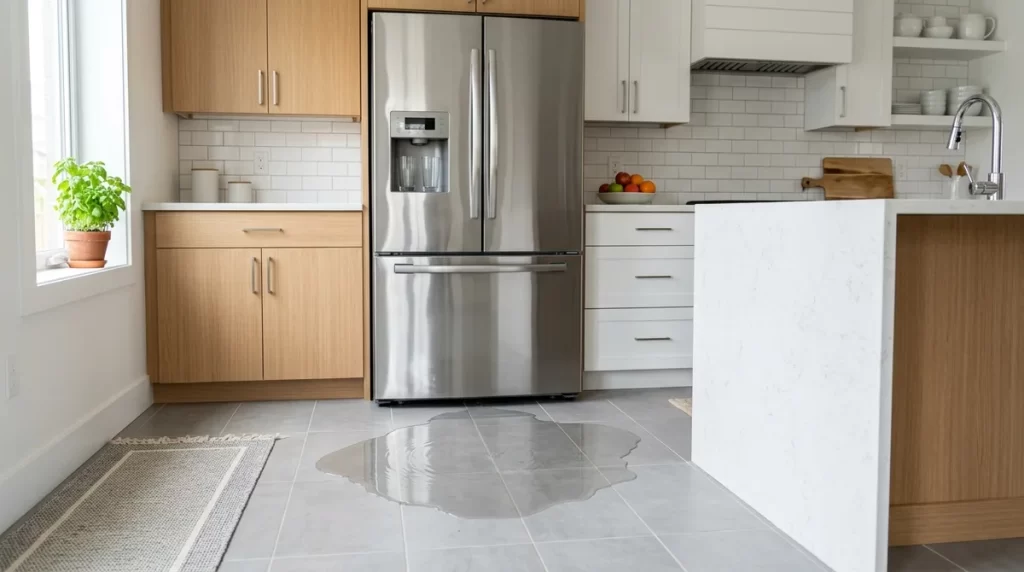
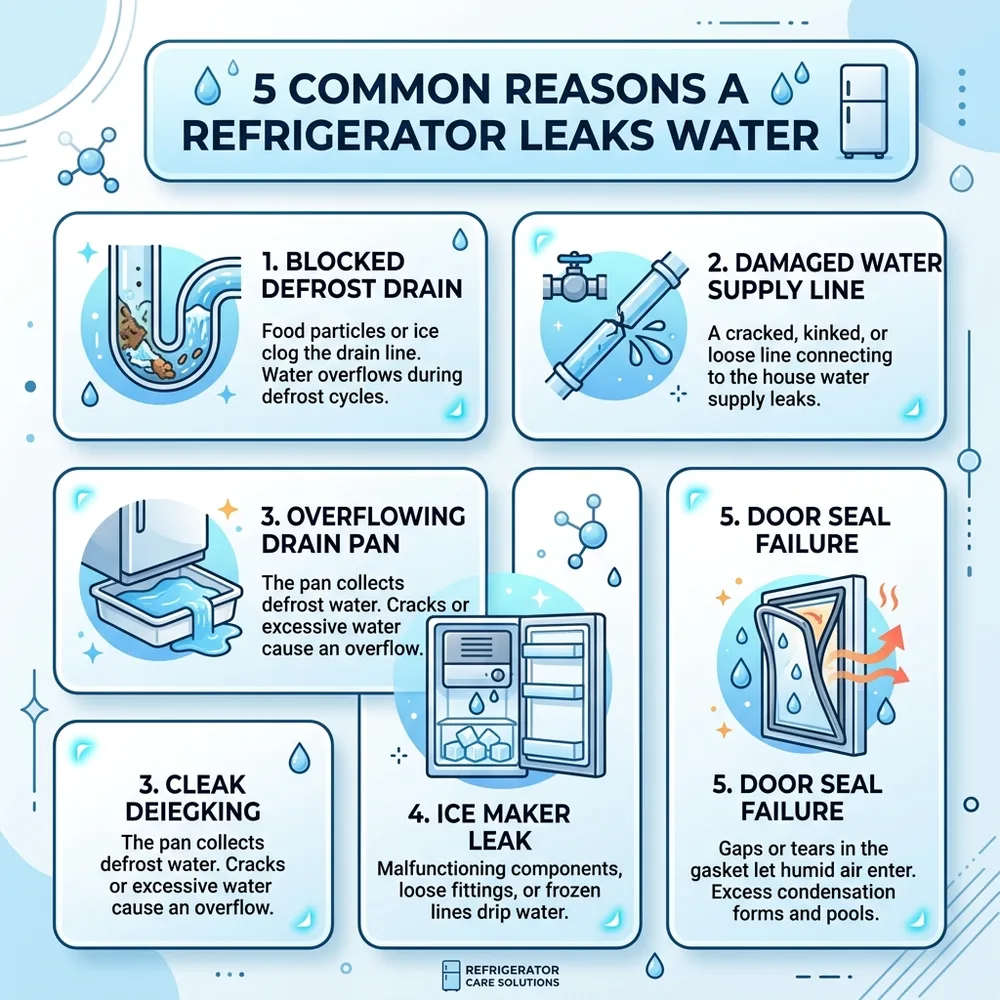
A puddle under or beside your fridge is one of the more alarming appliance problems because water damage to kitchen flooring and cabinets can be expensive – and the leak source is not always obvious. Refrigerator leaks come from five main areas, and the location of the water on your floor tells you a lot about which one is causing the problem. This guide covers each cause with specific attention to Halifax homes, where humidity patterns and water supply conditions create a slightly different picture than what you see in dryer inland cities. If you’d like a same-day fridge repair in Halifax or surrounding area, we’re Halifax most-trust appliance repair company!
Locate where the water is coming from first
Before doing anything else, dry up the water and watch where it reappears. The location tells you which system to investigate:
- Water under the fridge, centre or front: most likely the drain pan or a blocked defrost drain.
- Water at the back of the fridge: ice maker supply line, water filter housing, or the defrost drain tube exit point.
- Water pooling inside the fridge on shelves or in the crisper drawers: almost always a blocked defrost drain tube.
- Water dripping from the door or around the door seal: door gasket failure or temperature/humidity condensation issue.
- Water from the dispenser area that keeps dripping: water inlet valve or dispenser line issue, not covered here – those are separate repairs.
Blocked defrost drain
This is the most common cause of water appearing inside the fridge – typically pooling in the bottom of the fresh food compartment or in the vegetable crisper drawers. All frost-free refrigerators go through a defrost cycle every 6 to 12 hours, melting frost off the evaporator coils in the freezer. That meltwater flows down a drain tube that runs through the back wall of the freezer and empties into the drain pan under the fridge.
When the drain tube gets blocked – usually from ice buildup, food debris that has fallen into the drain hole, or mineral deposits from hard well water – the meltwater has nowhere to go. It backs up and overflows into the fresh food compartment, appearing as water on the bottom shelf or in the crisper. Over time, a secondary ice dam can form in the blocked tube, making the problem progressively worse.
The fix: locate the drain hole at the back of the freezer floor (or behind the back panel, depending on the fridge model). Pour warm water down the drain hole to melt any ice blockage. A turkey baster works well for this. In stubborn cases, a flexible drain snake or a warm wire can clear debris from the tube. Once the tube is clear, the water should drain freely into the pan under the fridge. On Halifax homes with hard well water, this drain tube tends to accumulate mineral deposits faster – cleaning it once a year proactively prevents blockage from developing.
Cracked or overflowing drain pan
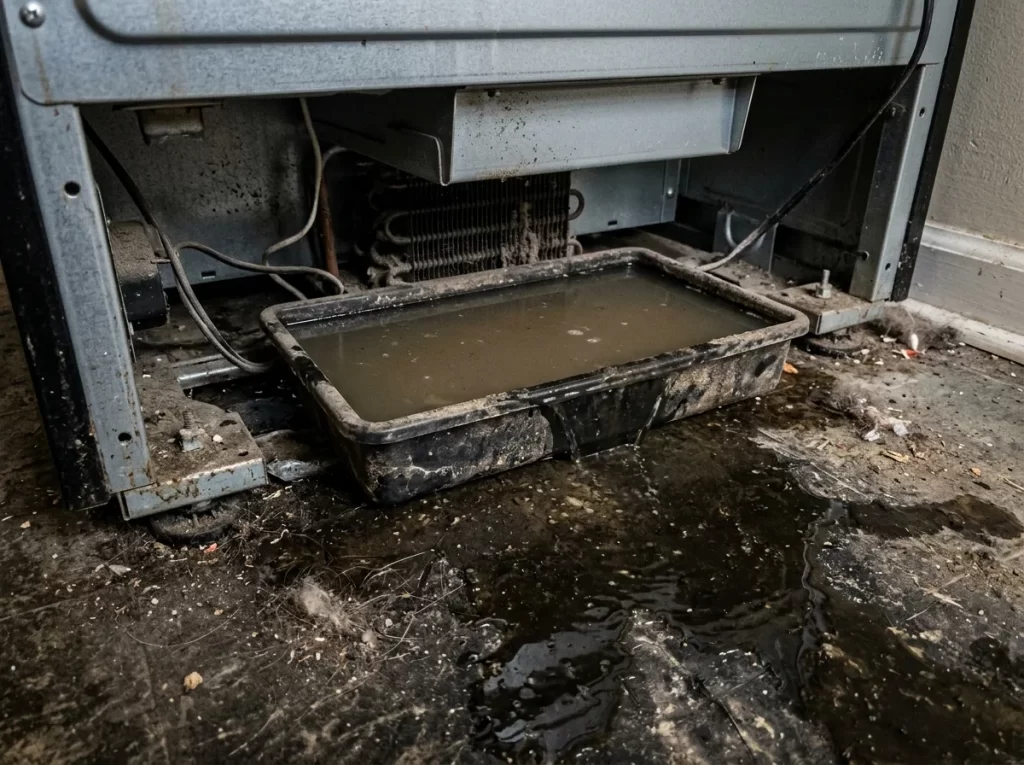
The drain pan sits at the bottom of the fridge, typically accessible by pulling the front grille off or pulling the fridge away from the wall. Under normal operation, this pan collects defrost water and it evaporates using the heat from the compressor and condenser coils. In a properly working fridge, you should rarely see standing water in the pan – it evaporates continuously.
Two things cause the pan to overflow: a cracked pan that leaks before the water can evaporate, or a defrost drain that is producing more water than the pan can handle – which can happen if the defrost cycle heater is running too long (a control board or defrost timer fault) or if the fridge is in an unusually humid environment. Halifax summers, especially in coastal areas of HRM, can push the ambient humidity high enough that the pan evaporation rate cannot keep up with defrost output. Check the pan for visible cracks. If it is intact but consistently full, the defrost system may be running abnormally.
Leaking water filter housing
Many modern refrigerators (Samsung, LG, Whirlpool, GE) have built-in water filters for the ice maker and dispenser. These filters screw or push-lock into a housing inside the fridge or at the back. Leaks from the filter housing produce water inside the upper compartment of the fridge or dripping from inside the door when you open it.
Common causes: the filter was not seated fully when last changed (a quarter-turn off from fully locked), the O-ring on the filter or housing has degraded, or a generic non-OEM filter was used that does not seal properly against the housing. The fix is usually to remove the filter and reinstall it, making sure it seats fully. If the O-ring is visibly cracked or deformed, the filter assembly or housing O-ring needs replacement. Using OEM or quality-qualified replacement filters prevents most fitment-related leaks.
Ice maker water supply line
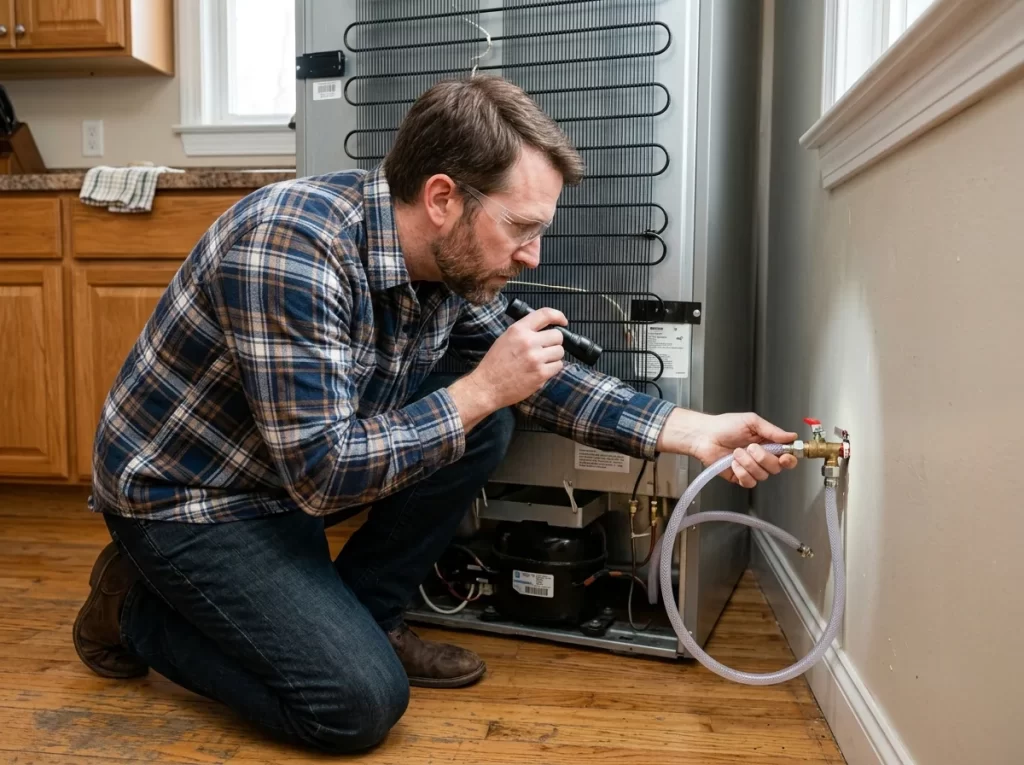
The ice maker connects to your home’s cold water supply via a quarter-inch supply line – usually copper tubing or braided steel, running from the shut-off valve at the back wall to the refrigerator’s water inlet valve. Leaks from this line appear at the back of the fridge and typically show as a thin stream or drip running down the wall behind the appliance.
The compression fittings at each end of the line can loosen over time as the fridge is moved for cleaning, or from thermal expansion cycles. The plastic saddle-tap valves that were commonly used to tap into copper supply pipes in 1990s and 2000s Halifax renovations are notorious for developing slow leaks as the gaskets age – if your home has one of these valve types, replace it with a proper quarter-turn ball valve. Braided steel supply lines are more reliable than the older thin copper tubing and are worth using when replacing the line.
Door gasket and condensation issues
The door gasket (the rubber seal around the perimeter of the fridge door) keeps warm humid air from entering the compartment. When the gasket is cracked, torn, or has lost its magnetic seal, warm air gets in continuously. That warm air hits the cold interior and condenses – and eventually that condensation accumulates enough to drip. You will see water on the front interior walls, on the bottom shelf, or running down the outside of the door.
Test your door gasket by closing the door on a piece of paper. If you can pull the paper out without resistance, the seal is weak at that point. A dollar-bill test works even better: insert a $5 bill, close the door, and try to pull it out – it should require noticeable resistance. Halifax door gaskets tend to degrade faster than average because of Atlantic salt air humidity cycling, especially on fridges that are located in open-plan kitchens facing windows or that see frequent door openings in summer. Gasket replacement is a straightforward DIY repair – gaskets are available by model number and installation takes 15 to 30 minutes with no special tools.
Halifax Humidity: The Local Factor
Halifax’s coastal humidity affects refrigerators differently than inland Canadian cities in several specific ways. Summer relative humidity in HRM regularly reaches 80 to 90 percent on the coast and into Bedford – well above the 50 to 60 percent typical of inland Ontario summers. When ambient humidity is this high, several fridge-related condensation effects intensify:
The drain pan evaporation rate drops because the air surrounding it is already saturated – meaning the pan fills faster than it evaporates, producing water under the fridge that is technically normal function under abnormal conditions. Door condensation increases – every time you open the fridge in high humidity, a slug of moist air enters and creates more condensation than the defrost cycle is designed to remove. And if the door gasket is even slightly degraded, humid air infiltration accelerates dramatically during the summer months.
Frequently asked questions
Fridge leaking water in Halifax?
Max Appliance Halifax serves all of HRM including Bedford, Dartmouth, Sackville, and Fall River.
Book a repair todayNeed a hand with this? Max Appliance Repair Halifax offers fridge repair appointments in Halifax. Same-day times are often available, depending on scheduling, travel, and parts availability. The service-call fee is waived when the recommended repair is completed. Call (902) 904-5559.